UPilot CRM helps you create manageable processes for your teams by creating a list of action items on both your contacts and the deals sections.
Added as “to-do” custom fields, these list of action items can be set up either as a template or can be customized for each contact or deal as well!
Creating a new to-do custom field
To create a new custom field which will house the action items, you can:
- Go to Settings > Manage Fields > Contact/Deal fields
- Click on ‘Create New Field‘ on the section you’d like to create the field in
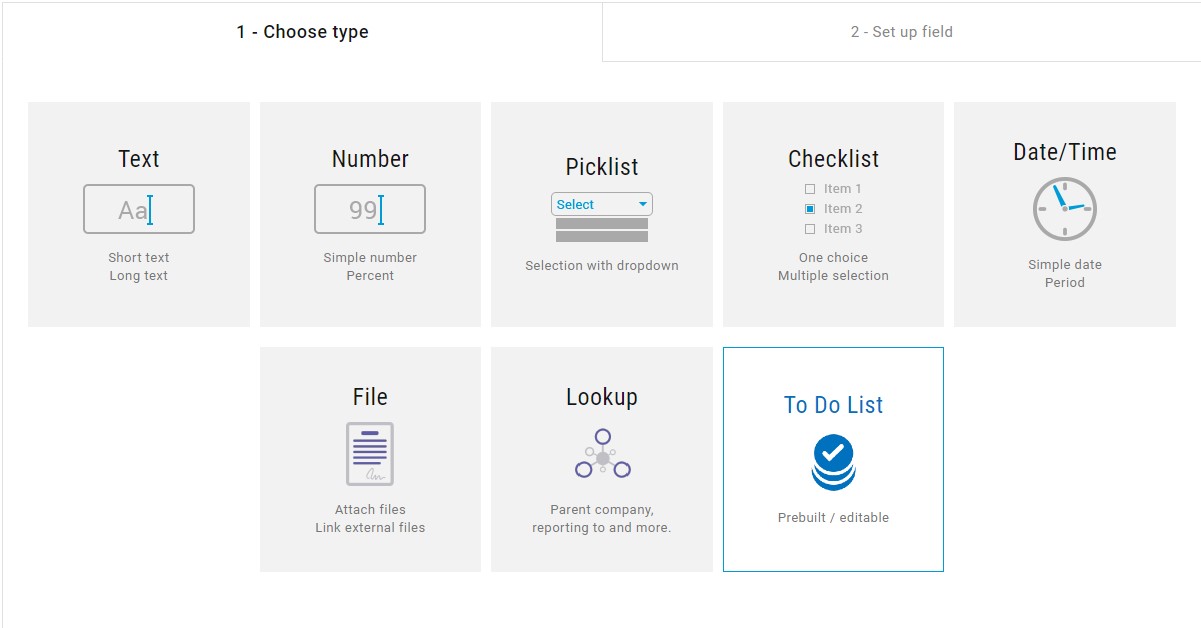
- Select the “To-do list” field option

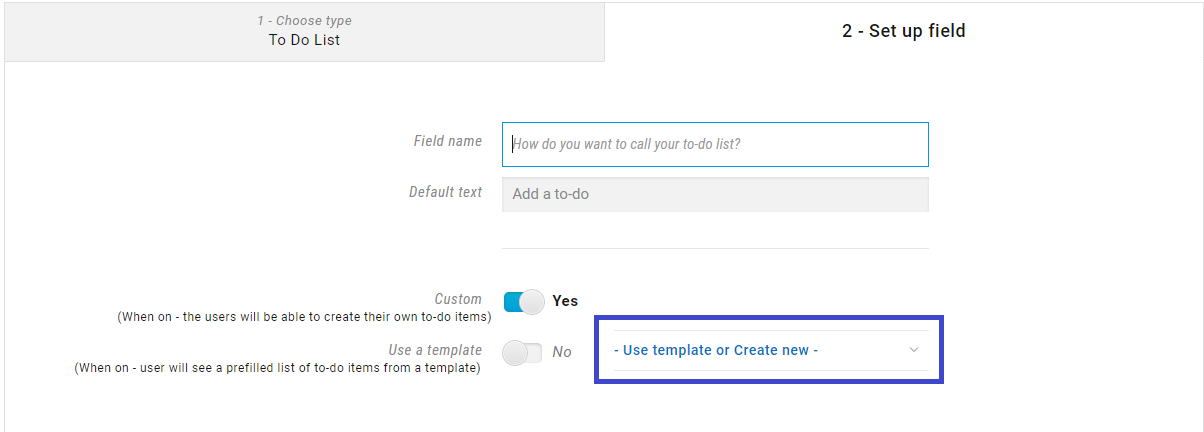
- Set the field name as you’d like the users to see the name
- Set the options as either “Custom” or “Use a template”
- If using “Custom”, the users will be able to create their own to-do items for each contact or deal.
- If using “Use a template”, When on – user will see a prefilled list of to-do items from a template.
- If using templates, select the template from “- Use a template or Create new -”
(See below further for managing templates for your action items)
- Click ‘Create Field‘
- Your to-do list is now created and will be viewable for all users.
Managing Your To-Do List Templates
If you’re looking to create templates of action items for your team, you can manage them while creating a new “to-do list”.
When creating a list, click on “- Use a template or create new -” to view available templates or to create a new one.
Creating a new Category
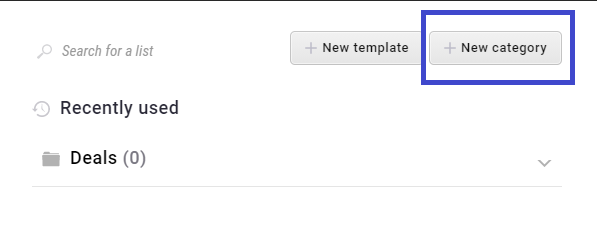
Your templates can be housed collectively under categories for easy management. To create a new category:
- Once on the ‘Manage templates’ popup, click on “New Category“

- From the popup that appears, enter the Category as you’d like
- Click ‘Save‘
- Your category has now been created and templates can now be stored under this
Creating a New Template
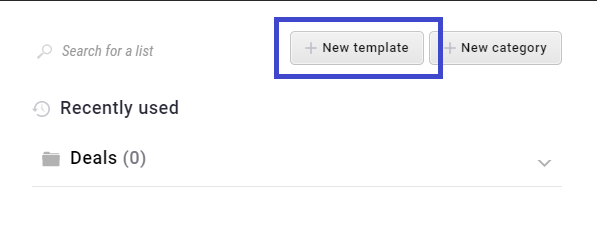
- Once on the ‘Manage templates’ popup, click on “New Template“

- Enter the List Name as you’d like the other users to see the template name
- Select the category under which the template is to be created
- Click on “Add a to-do” to start adding the action items for the list
- Add in all the needed action items
- Set who should be able to see the template:
Private -> Only you will be able to see it
Team -> The team in which you belong will be able to see it
Company -> Everyone in the company will be able to see it - Click “Save” to save the template
- Your template has now been created and ready for use
This article is a part of the ‘Advanced Customizations’ series. Articles in this series include:

