With UPilot CRM, you can now create multiple custom field sections and further group custom fields within these sections. The new grouping lets you take your data documentation one step further.
With sections and grouping, you can ensure your team can view related data in one place and organize them as needed. These custom sections and fields can be created for both your contacts and deals.
Creating Custom Field Sections
To add a new custom field section, you can:
- Navigate to Settings > Manage fields > Contact/Deal fields (depending on which one you want to customize)
- Below the description field, click on the add new section button.
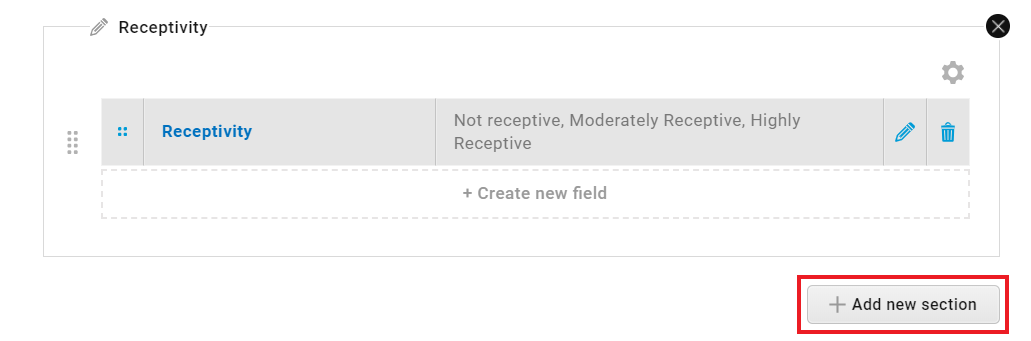
- Enter the name of the section as needed
- Click on the save icon to add the new section.
- To add a new custom field within a section, click on the create custom field located just below the section
- Your new section has now been created and will be displayed on the contacts or deal views as required
Customizing Section Visibility
Once you have created your sections, you can also customize the visibility of your custom sections and decide where and how they are viewed within the contacts and deals. By doing so, you can ensure that within a contact or a deal, only the relevant data will appear.
For contact sections, you can:
- Navigate to contact fields via Settings > Manage fields > Contact Fields
- Click on the settings icon next to the required section, a drop-down menu will appear.
- From this menu, you can choose if the section will appear in both the contacts and company views or individually for each one.
For deal sections, you can:
- Navigate to deal fields via Settings > Manage fields > Deal Fields.
- Select the relevant section and click on the gear icon within it.
- In the drop-down that appears, you can select where in the pipeline stages the section will appear.
- Further, you can also choose if the section appears in an expanded form or collapsed form when viewed in the deal.
Organizing Your Custom Sections
Custom fields and their respective sections can further be arranged as needed. This allows you to decide the order in which the sections and fields appear when viewing contacts and deals. To do so, you can:
- Navigate to settings > Manage fields > Contact/Deal fields (depending on which one you want to rearrange)
- To change the order in which sections are displayed, simply hover the mouse over the 8 dots on the left of the section and click and drag to move the entire section up or down in the order as needed.
- The same can be done for fields within sections by hovering over the 4 dots next to a field name and clicking and dragging to its new position.
- Custom fields can be moved from one section to another with the same method as well.
- Custom fields can be moved from one section to another with the same method as well.
- Once updated, the sections and the fields will appear in the same order on the required view as well.