In UPilot CRM, you have the flexibility to create your own custom lists for tasks with the filters that you want by saving them as a view. A custom list acts as a quick way to save your filters and quickly get to the information you are looking for on a regular basis. You also have the option of selecting your default custom view when you prefer to see only specific information every time you log in.
Creating a Custom List
You can create your custom list in the following manner: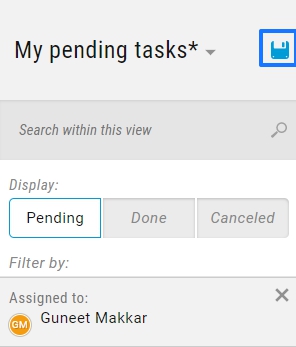
- Go to Tasks section.
- Click on ‘Show filters‘ (funnel) icon on the top-right side of the screen.
- Select the required filters.
- Click on the ‘Save Icon’ at the top of the filters section.
- Enter how you want your view to be named.
- Click ‘Save view’.
- Your custom view has been saved.
Accessing a Saved View
To go to a view that you have already created, you can do so by:
- Go to Tasks section.
- Click on the name of the current view located in the header of the task section.
- Click on the view you would like to see.
- Your selected view is now displayed.
Changing the Default View
You can mark any view as default, and this will be the view that loads when you login to your account. To mark a view as default:
- Go to Tasks section.
- Click on ‘Show filters‘ icon on the right side of the screen to open the filter list.
- Click on the ‘down arrow‘ at the top of the filters to see the list of currently saved views.
- Click on the edit icon that appears when you hover over the view name.
- In the edit popup, check ‘Make this my default view‘.
- Click ‘Save’.
- Your default view has been changed.
This article is a part of the ‘Tasks’ series. Articles in this series include: