You can completely customize your pipeline in UPilot CRM. By default UPilot has 5 pipeline stages, but you can add more stages or delete a stage depending on your own processes.
Adding a new pipeline stage

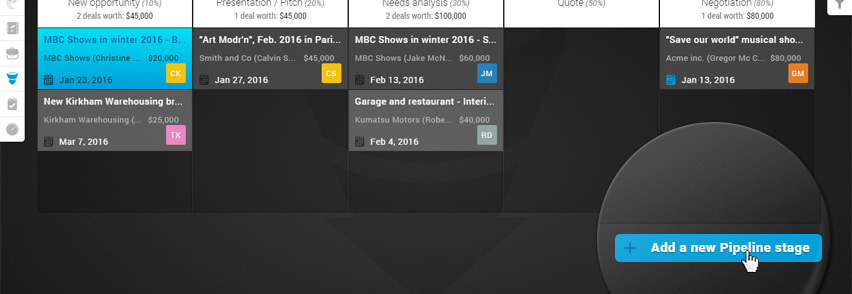
- Scroll to the bottom of the Pipeline
- Click ‘Add a new Pipeline stage’
- In the popup that opens, enter the name of the new stage
- Enter the probability of closing associated with the new stage
- Click ‘Save’.
- Your pipeline will now refresh and the new stage has now been added.
Deleting a pipeline stage

- Go to the Pipeline
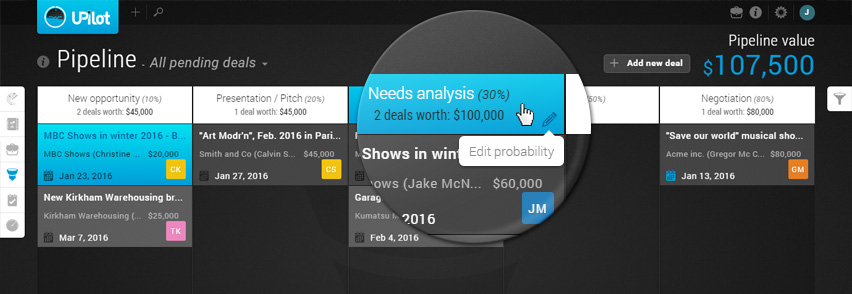
- Click on the name of the stage which you would like to delete
- The pipeline stage edit popup opens
- Click on the ‘Delete’ button
- Click ‘Delete’ on the confirmation popup.
- Your pipeline will now refresh, and the stage has been deleted.
All deals in a stage will be moved automatically (during the deletion of the stage) to the stage with the closest probability to the probability assigned to the stage being deleted.
For example, if you have 4 stages with the probabilities of 10%, 20%, 40%, and 80% respectively, deleting the stage with the probability of 20% would move all deals to the stage with the probability of 10%.
Pro Tip:
You can further customize your Pipeline in a way that suits you by renaming pipeline stages, changing the probability assigned to pipeline stages, changing the deal colours, etc.
This article is a part of the ‘Pipeline’ series. Articles in this series include:

